FriendlyElec NanoPi R5S
最近入手了FriendlyElec NanoPi R5S
金属壳子和树莓派亚克力壳子一样大小.
m2 2208的 4T的ssd插进去只能识别用到2T容量
最近入手了FriendlyElec NanoPi R5S
金属壳子和树莓派亚克力壳子一样大小.
m2 2208的 4T的ssd插进去只能识别用到2T容量
tmux # 新建一个无名称的会话
tmux new -s demo # 新建一个名称为demo的会话
tmux detach # 断开当前会话,会话在后台运行
tmux a # 默认进入第一个会话
tmux a -t demo # 进入到名称为demo的会话
tmux kill-session -t demo # 关闭demo会话
tmux kill-server # 关闭服务器,所有的会话都将关闭
tmux list-session # 查看所有会话
tmux ls # 查看所有会话,提倡使用简写形式
更多细节https://louiszhai.github.io/2017/09/30/tmux/
https://suggestion.baidu.com/su?wd=%E5%86%A0%E7%8A%B6%E7%97%85%E6%AF%92&cb=window.baidu.sug

https://google.com/complete/search?output=toolbar&q=%25%E8%AE%BE%E8%AE%A1

https://suggest.taobao.com/sug?area=etao&code=utf-8&callback=KISSY.Suggest.callback&q=%E8%AE%BE%E8%AE%A1

http://sg1.api.bing.com/qsonhs.aspx?type=cb&cb=callback&q=%E8%AE%BE%E8%AE%A1

https://sor.html5.qq.com/api/getsug?key={$key}

https://sug.so.360.cn/suggest?callback=suggest_so&encodein=utf-8&encodeout=utf-8&format=json&src=so_home&fields=word&word={$key}&llbq=A5%2CB5%2CC5%2CD5
yum install epel-release
yum -y groupinstall "KDE"
yum -y install langpacks-zh_CN.noarch
yum -y install xrdp
startx
systemctl start xrdp
systemctl enable xrdp
firewall-cmd --permanent --zone=public --add-port=3389/tcp  --permanent
firewall-cmd --reload
/etc/xrdp/xrdp.ini 里面的port=3389可以修改成想要的端口.
然后可以通过GUI干一些其他的事情了.
/ip address add address={管理IP地址}/24 interface=ether1
/ip route add distance=1 gateway={网关IP地址} routing-mark=MGMT
/ip route rule add src-address={管理IP地址}/32 table=MGMT
/ip route vrf add interfaces=ether1 routing-mark=MGMT纯粹口水一下caddy1遇上的启动报错问题.
报错内容如下
   Process: 472999 ExecStart=/usr/bin/caddy -conf /etc/caddy/caddy.conf -root /tmp -agree (code=exited, status=1/FAILURE)
   Main PID: 472999 (code=exited, status=1/FAILURE)
        CPU: 26ms

Aug 12 11:48:36 klayer systemd[1]: Starting Caddy HTTP/2 web server...
Aug 12 11:48:36 klayer caddy[472992]: Caddyfile is valid
Aug 12 11:48:36 klayer systemd[1]: Started Caddy HTTP/2 web server.
Aug 12 11:48:36 klayer caddy[472999]: Activating privacy features... 2023/08/12 11:48:36 failed storage check: open /var/lib/caddy/rw_test_1203782840230465039>
Aug 12 11:48:36 klayer systemd[1]: caddy.service: Main process exited, code=exited, status=1/FAILURE
Aug 12 11:48:36 klayer systemd[1]: caddy.service: Failed with result 'exit-code'.
解决如下
ulimit -n 8192
cat>>/etc/security/limits.conf<<EOF

* soft nofile 65535
* hard nofile 65535
* soft nproc 65535
* hard nproc 65535

root soft nofile 65535
root hard nofile 65535
root soft nproc 65535
root hard nproc 65535

EOF

useradd  -M  caddy -s /sbin/nologin
mkdir /var/lib/caddy
chown caddy.caddy  /var/lib/caddy
一个是limits系统参数问题,一个/var/lib/caddy目录问题, 如果caddy用户给root权限就没第二个问题.
半夜调路由, 手抖输错个字符还给commit了, BGP给整掉线了, 还好PTP的IP还在线, 顺手记录下
stelnet 目标IP 端口号, 然后回车输入用户密码登录完成.
ssh client first-time enable
stelnet host-ipv4 [ port ] [ [ prefer_kex { dh_group1 | dh_exchange_group } ] | [ prefer_ctos_cipher { des | 3des | aes128 } ] | [ prefer_stoc_cipher { des | 3des | aes128 } ] | [ prefer_ctos_hmac { sha1 | sha1_96 | md5 | md5_96 } ] | [ prefer_stoc_hmac { sha1 | sha1_96 | md5 | md5_96 } ] ] * [ -ki aliveinterval [ -kc alivecountmax ] ]一般的Linux仓库都有,yum或者apt安装一下就可以用, 相对screen更好使些.
9600是默认波特率, 使用-b参数可以指定
picocom -b 9600 /dev/ttyUSB0/dev/ttyUSB0为串口设备的路径, 可以用ls查看目录抓取出来所有可用设备.
ls /dev|grep USB 要退出picocom,请使用Ctrl+ a,然后Ctrl + x。
看起来不错 0.5美元/每月/每台设备
https://tenantos.com/
基于laravel框架开发, 整体功能复刻已经万年不更新的NOCPS。
依旧没有数据中心概念,没有机柜概念。
https://www.resell.biz/ 这个是uk2旗下的一级注册商和resellerclub用的是一套系统.
https://www.hexonet.net/ 1API 加拿大一级注册商, (德国马甲名key-systems)
https://www.resellerclub.com/ 这家就没啥说的了
cat>>~/.bash_profile<<EOF
speed(){
virsh domiftune \$1 \$1.0 --current --outbound 2000,2000,2000
virsh domiftune \$1 \$1.0 --current --inbound 2000,2000,2000
}
EOF
export ~/.bash_profile在机房现场维护用各种远程控制软件太烦人了.
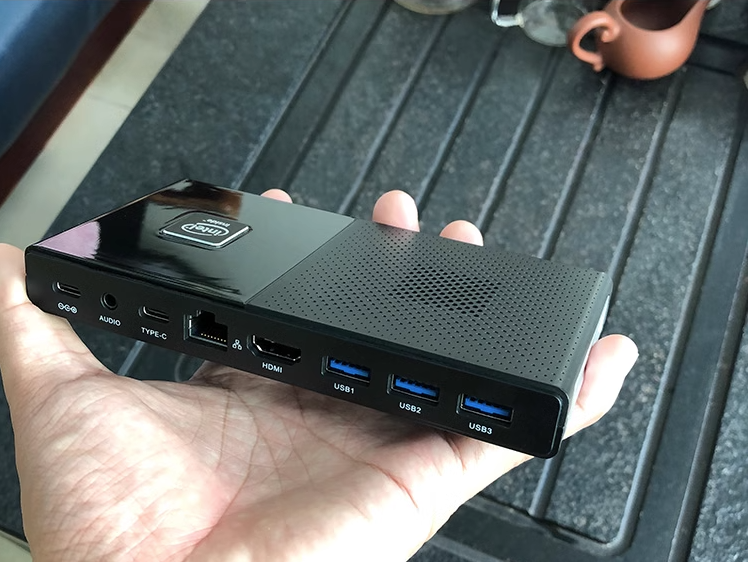
直接某宝买个N6000的小主机, 支持type-c接口PD供电.
连上wifi然后frp穿透连接, 不论是ssh还是windows都很方便, 现场维护人员随身携带也很方便.
frpc客户端
# frpc.ini
[common]
server_addr = FRP服务器IP
server_port = 7000

[rdp]
type = tcp
local_ip = 0.0.0.0
local_port = 3389
remote_port = 23389
将 frp 封装成 windows 后台服务
windows下 frp 程序启动后会有一个cmd窗口,需要一直开着,不能关闭。
以下将 frp 封装成 windows 服务,可以在后台运行,并且开机自启动。
需要下载 NSSM, http://www.nssm.cc/usage, 它可以将普通的 windows 程序封装成服务。
nssm install frpc "C:\frp\frpc.exe"
nssm set frpc AppParameters  "-c C:\frp\frpc.ini"
frp启动停止服务
# 启动服务
nssm start frpc

# 停止服务
nssm stop frpc

# 编辑服务配置
nssm edit frpc

# 删除服务
nssm remove frpc之前发的太拉胯了, 重新写了一份.
针对后台文件夹更名后, 用try_files判断,免去写白名单验证了, 官方爱咋折腾出了问题再说了.
CUSTOMADMINPATH为匹配后台自定义admin目录
location ~ [^/]\.php(/|$) { YOUR php-fpm configure in HERE }
location ~  ^/{ try_files $uri $uri/ /index.php?rp=$uri; }
location ~  ^/(admin|CUSTOMADMINPATH_1|CUSTOMADMINPATH_2)/ { try_files $uri $uri/ index.php?rp=$uri; }
原始的弃用了:
location ~ /templates/.*\.tpl$ { return 404; }
location ^~ /vendor/ { return 404; }
location ~  ^/(images/em|invoice|login|password|account|store|download|knowledgebase|announcements|clientarea/ssl-certificates|user/(verification|accounts|profile|password|security|verify)|cart/(domain/renew)|domain/pricing|cart/order|images/kb)/?(.*)$  {  rewrite (.*)  /index.php?rp=$uri last; }
location ~  ^/(.*)/(client|client!\.php|client/(.*)|table/(.*)|search!\.php|search/(.*)|apps|billing|setup|user|services|addons|domains|utilitiesemailmarketer!\.php|utilities/(.*)|logs|help!\.php|help/license|modules|image/(recent|upload)|validation_com/(.*))/?(.*)$ {  try_files $uri $uri/ /$1/index.php?rp=$uri;  }
如果whmcs放在二级目录下则小改一下.
把uri改成rewrite 的正则匹配.
上传固件文件可以用scp或者tftp下载.
先启用scp服务
[~huawei] scp server enable
[~huawei] commit
用scp传文件到NE20E(100.164.6.1换成路由的IP)
scp NE20E-S2F-V800R012C10SPC300.cc [email protected]:回到NE20E上面
#检查文件
check system-software cfcard:/NE20E-S2F-V800R012C10SPC300.cc

#执行升级
startup  system-software cfcard:/NE20E-S2F-V800R012C10SPC300.cc all
检查startup
dis startup看到 Next startup system software: cfcard:/NE20E-S2F-V800R012C10SPC300.cc就可以执行reboot了.
reboot
如果在上传文件过程中发现空间不足
dir查看文件目录
dir /all删除文件
delete 文件名
清空回收站
reset recycle-bin